 由 willis » 2010-03-16, 22:59
This is my version. I processed it with ur original photo. In fact, if ur original photo is not good, I cannot bring the color & contrast out. Here are the steps in Photoshop:
1. Level: Tune the Level in individual RGB channels in such a way the three RGB histograms match. There are 3 buttons below the histogram. The general rule is that 3 channels should be similar in position and width. If the DSI is red dominating, red channel can be boosted more.
2. Curve: Different celestial objects got different curve shape. In this case I used 4 tags to shape the curve. The bright part of the curve is quite close to the original straight line. The dark part of the curve is suppressed in order to make a dark background.
3. Reduce Noise: Use navigator to magnify the image to about 300-400%. set the Tolerance to about 20-30 and use the Magic Wand Tool to point at a dark or noisy point. Apply strong noise reduction. Done!
- 附加檔案
-
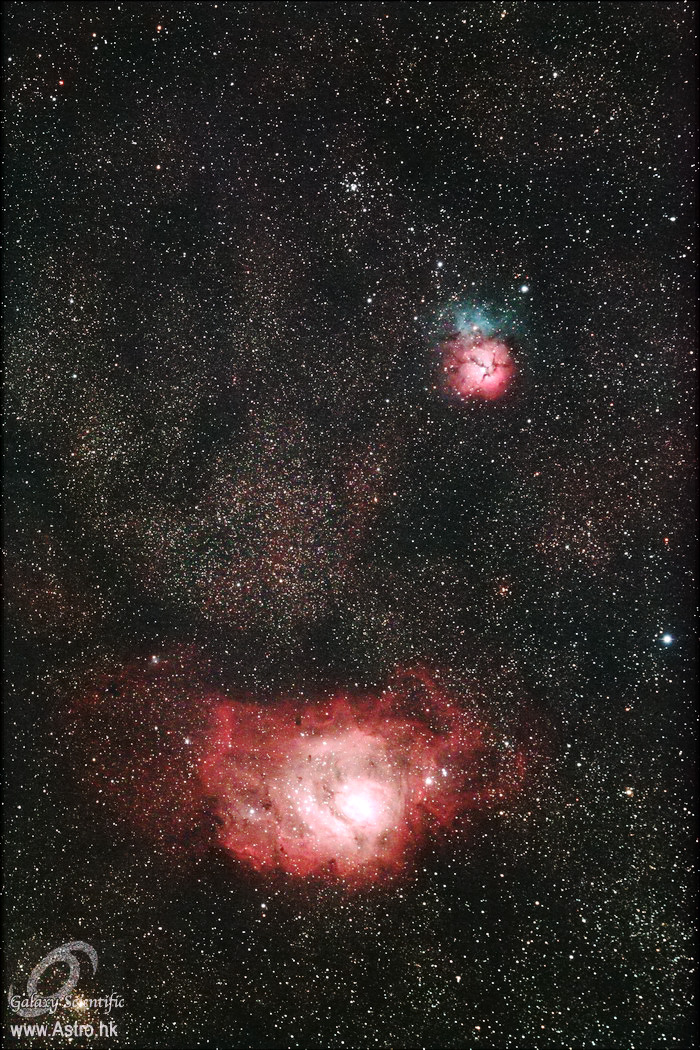
- M8M20_resize_PS.jpg (465.29 KiB) 被瀏覽 332097 次
Tak FS60C, APM-LOMO 80/480, APM-TMB 105/650, SW Black Diamond 120ED, Borg 125SD, SW 12" Dobs , Lunt LS35T, Lunt LS80T
TMB Super Mono 4mm, Pentax XO 2.5mm, Baader Planetarium 8-24mm, Nagler (2-4mm, 3-6mm, 13mm), Ethos (3.7mm, 6mm, 10mm), Explore Scientific 100º (14mm, 20mm)
DBK 21, DMK 21, DMK 41, DMK 51, ASI 178MC
Nikon D810A, Canon 5D II, Fujifilm X-T10


